How making 3D roses is like decorating a cake
- Matt

- May 23, 2024
- 5 min read
Updated: May 27, 2024
A deep-dive into how we make our 3D-printed flowers.

Okay, storytime.
For the last few months, Stephanie and I have been crafting and perfecting 3D-printed roses (and other flowers, too)! The project was inspired by Stephanie's idea for a birthday gift for her mom: a 2D graphic for a T-shirt. We ultimately made a similar T-shirt (which you can customize and buy below if you like), but the idea got the creative juices flowing, and a new product was born.
The first version of the flower was created to resemble a tall, standing sunflower. We designed and printed a personalized "terracotta" styled planter with a "dirt" insert for the flowers to stand in. For this creation, we printed each part separately in a solid color and used Posca paint markers to add details to all elements of the flowers and planter. I designed each flower part to snap or slide into each other so the entire plant can be sturdily assembled without glue.
The sunflower's petals are printed as a single flat piece, and then the flower tips are bent while the plastic is still hot. This method of shaping the flower petals led us to the rose design.


Some sciencey bits...
We started by tracing flattened rose petals and arranging them in circular patterns to make the flower. The blanks are designed to be printed flat and then reheated and shaped into a flower. We discovered that the ideal thickness is less than 1mm, and increasing or decreasing the thickness at specific points would influence how the petal folds when heated.
Polylactic acid (PLA) an eco-friendly, biodegradable material can be used to develop strong PLA Lattice components at low temperatures and narrow processing window (ranging from 150 °C to 230 °C) using FDM. R. Jain, N. Gupta, Design optimization of PLA lattice in 3D printing
This means that when you heat a few layers of 3D-printed PLA, you get a fondant-like material that is workable for a few moments. The material stiffens as it cools, which locks in the overall shape, and once it cools completely to room temperature, there is very little flexibility left. We use this to our advantage when hand-forming the 3D-printed blanks into a bloom that resembles a rose.
Steps to creating a rose...
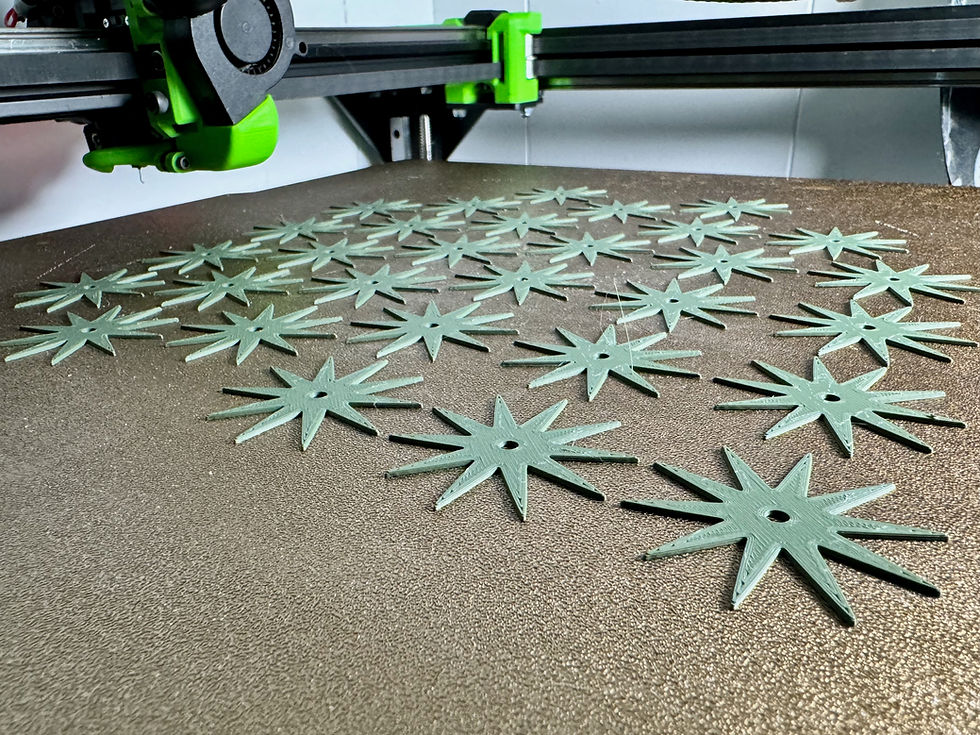
First, multiple rose blanks are printed flat on a single bed. The blanks are all the same size and shape to ensure that each flower is formed later in a predictable and repeatable way.
Then, the rose is heated, and the petals are folded to create the basic rose shape. As the blanks are heated, the crystalline lattice of the polymer begins to relax, allowing the flower petal to be hand-worked. The molded shape is locked into place as the polymer cools past its glass transition temperature.
The reheating of the plastic creates a workable fondant-like material, which reminds me of cake decorating. You can see this happen in real-time in the video below.
As the flower petal reaches about ~200 degrees C (~392 degrees F), the polymer starts to lose its structure, but the overall form remains intact. The use of PLA is critical because it can be reheated to this point multiple times without degrading the polymer's material properties. It is still essential to apply heat from a consistent source so that the material is not exposed to excessive heat, which would cause the plastic to become brittle.
A folded flower bloom is inserted into another folded bloom to make the inner and outer petals of the flower. We apply additional heat to select spots around the flower to mold the fine details.
This process means that every rose we create is as unique as the person receiving it. I love this aspect about these flowers because they are made in a repeatable way, which assures a quality and predictable result, but the hand touch takes them beyond a cookie-cutter 3D printed item and gives them character.

Putting it all together...
The final flower consists of many parts printed separately but designed to slide, snap, and fit together without glue. The leaves, undersides, and petal blanks are printed ahead of time in batches on a large bed.
We experimented with different colors, textures, finishes, and combinations to create exciting flowers that mirror or defy nature. There are practically no limits, but we found some favorites that are listed on our site (but we can do something custom, too!)
PLA with a matte finish produces a more believable flower, whereas PLA with a silk finish produces a more elegant look. We are excited to be experimenting with glow-in-the-dark, gradient, and sparkle filaments soon to make some more stylized flowers.

Why the font does it matter?
The flower is only as good as its stem, and a lot can be learned from our 4-year-old twins. We designed the stem with the dynamics of text in mind because a stem can say pretty much anything. We quickly realized that the strength of the stem would suffer with some letters and letter combos and that the font we picked made a huge difference.
Initially, we would create a text path in Adobe Illustrator and then import a .dxf into Autodesk Fusion to make the stem extrusion. The problem with this is that almost all fonts made for screens or printing are not structurally fit for 3D printing. To solve this issue, we created our font inspired by the Pacifico font by Vernon Adams. We crafted a 3D model for each character glyph while carefully examining width, character connections, and gaps—all factors that play a critical role in stem strength.


Earlier versions of the flower, such as the MOM or J-Dapa flowers (below), used a standard font, while the newer versions, such as the Cameron or dance flowers (below), are examples of our custom 3D font. The results of developing and modeling a 3D font for a specific purpose are night and day—a task well worth the effort.


There is more to come...
There is no need to wait; our custom 3D-printed roses are available now from our online store. Our current lead time (as of writing this post) is 1-2 days, and we ship across the United States.
We are humbled by the love we have received from everyone and especially would like to thank Donna and the J-DAPA community. Without them, we would not be where we are today.
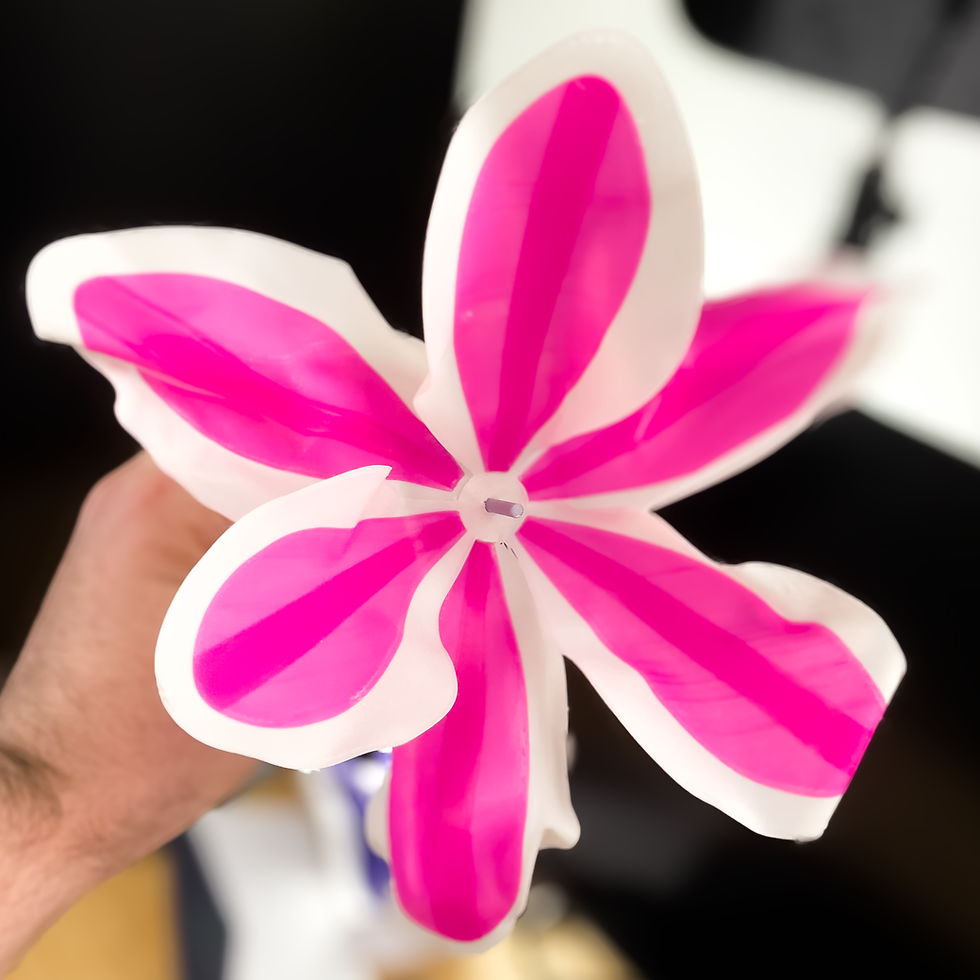
We are experimenting with new designs for flowers, planters, vases, and dirt and playing with new printers and other manufacturing methods. Below is a prototype picture of our first lily petals.
Stay tuned for more information, and don't forget to subscribe to our newsletter so you can stay in the loop.
Are you interested in working with us? We would love to bring your ideas to life!
Email us at info@littlegeniusdesign.com to start a new adventure.
Comments